Payload CMS Beauty parlour Website
1. First Login
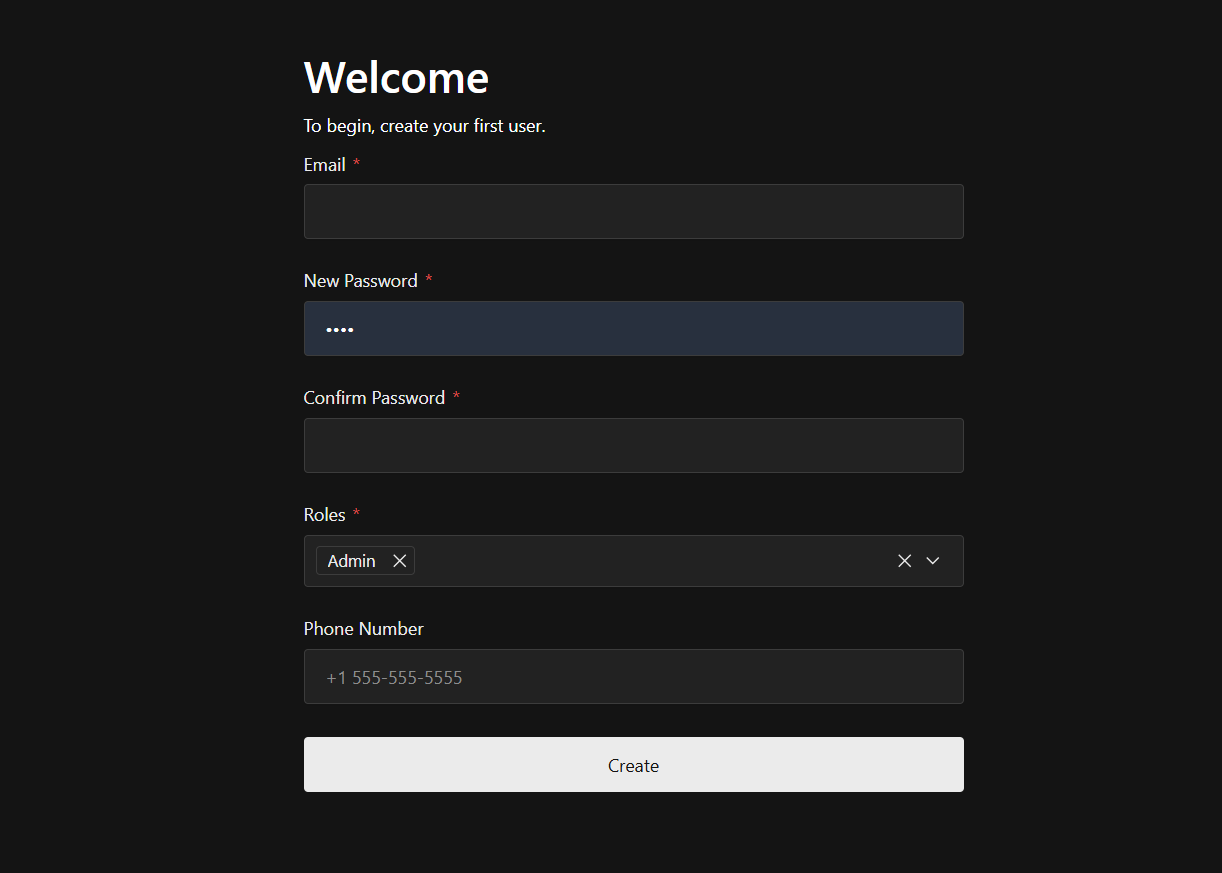
Section titled “1. First Login”When accessing the dashboard for the first time, you will be automatically redirected to the Initial User Setup page.
Since no users exist yet, the system requires you to create the first administrator account.
On this screen, you will need to provide the following details:
Email Address – Enter a valid email address. This will be used as your login username.
Password – Create a secure password that meets the system’s security requirements.
Role – Select the appropriate role (typically Administrator for the first user).
After submitting the form, your account will be created, and you will be redirected to the main dashboard.
Note: The first user typically has full administrative privileges and can create additional users and manage roles.
2. Dashboard Overview
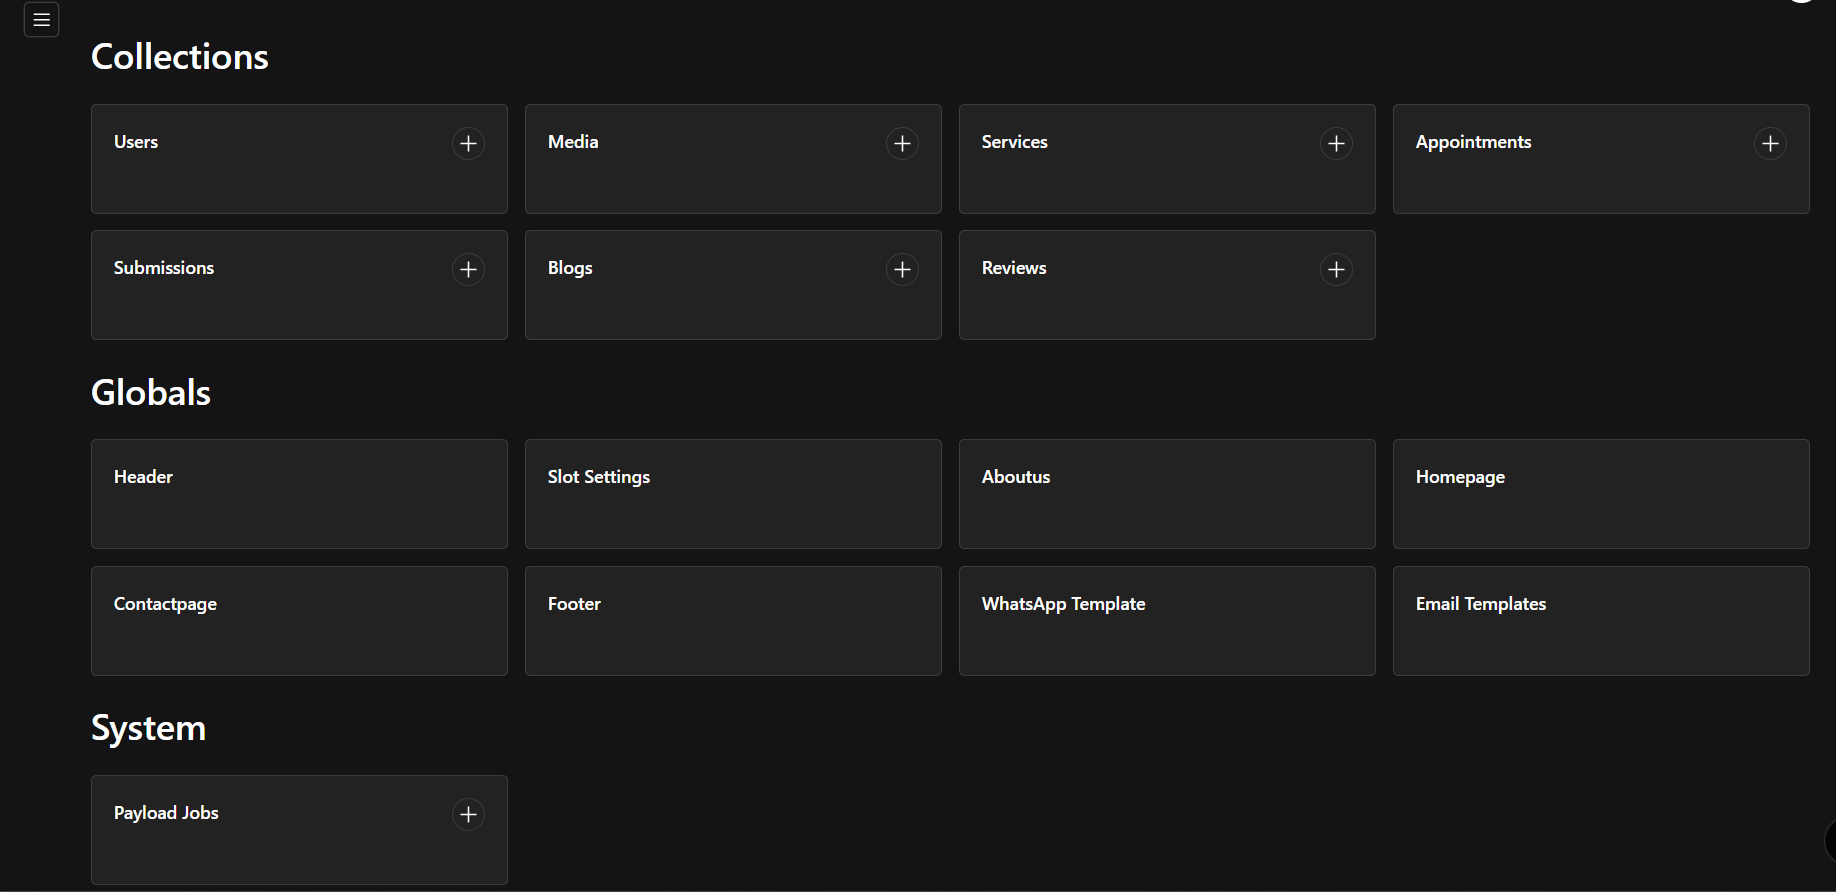
Section titled “2. Dashboard Overview”The dashboard provides access to all available modules and features based on your assigned role and permissions. From here, you can navigate through different sections of the system using the sidebar menu.
3. User Management
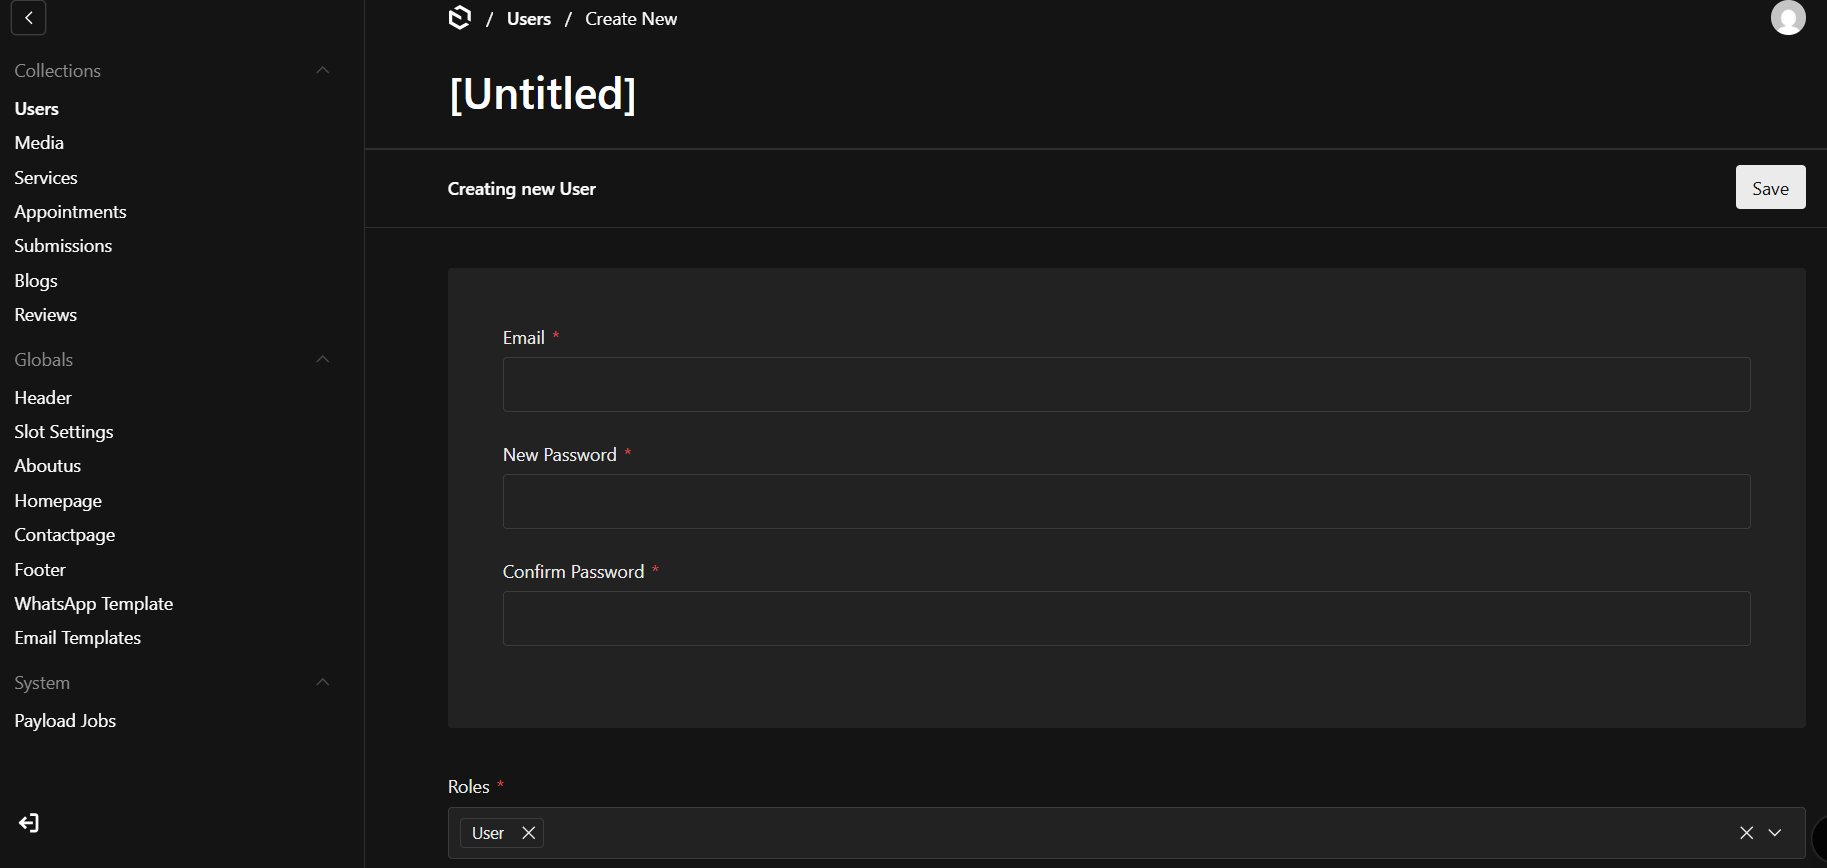
Section titled “3. User Management”The Users tab is one of the primary options available in the dashboard.
When you click on the Users tab, you will be able to view the list of existing users in the system. From this section, you can:
Create a New User – Add a new user by clicking the “Create New” button.
Assign a Role – Select the appropriate role for the user (e.g., admin,user, etc.).
Edit User Details – Update user information such as email or role.
Manage Permissions – Control access based on assigned roles.
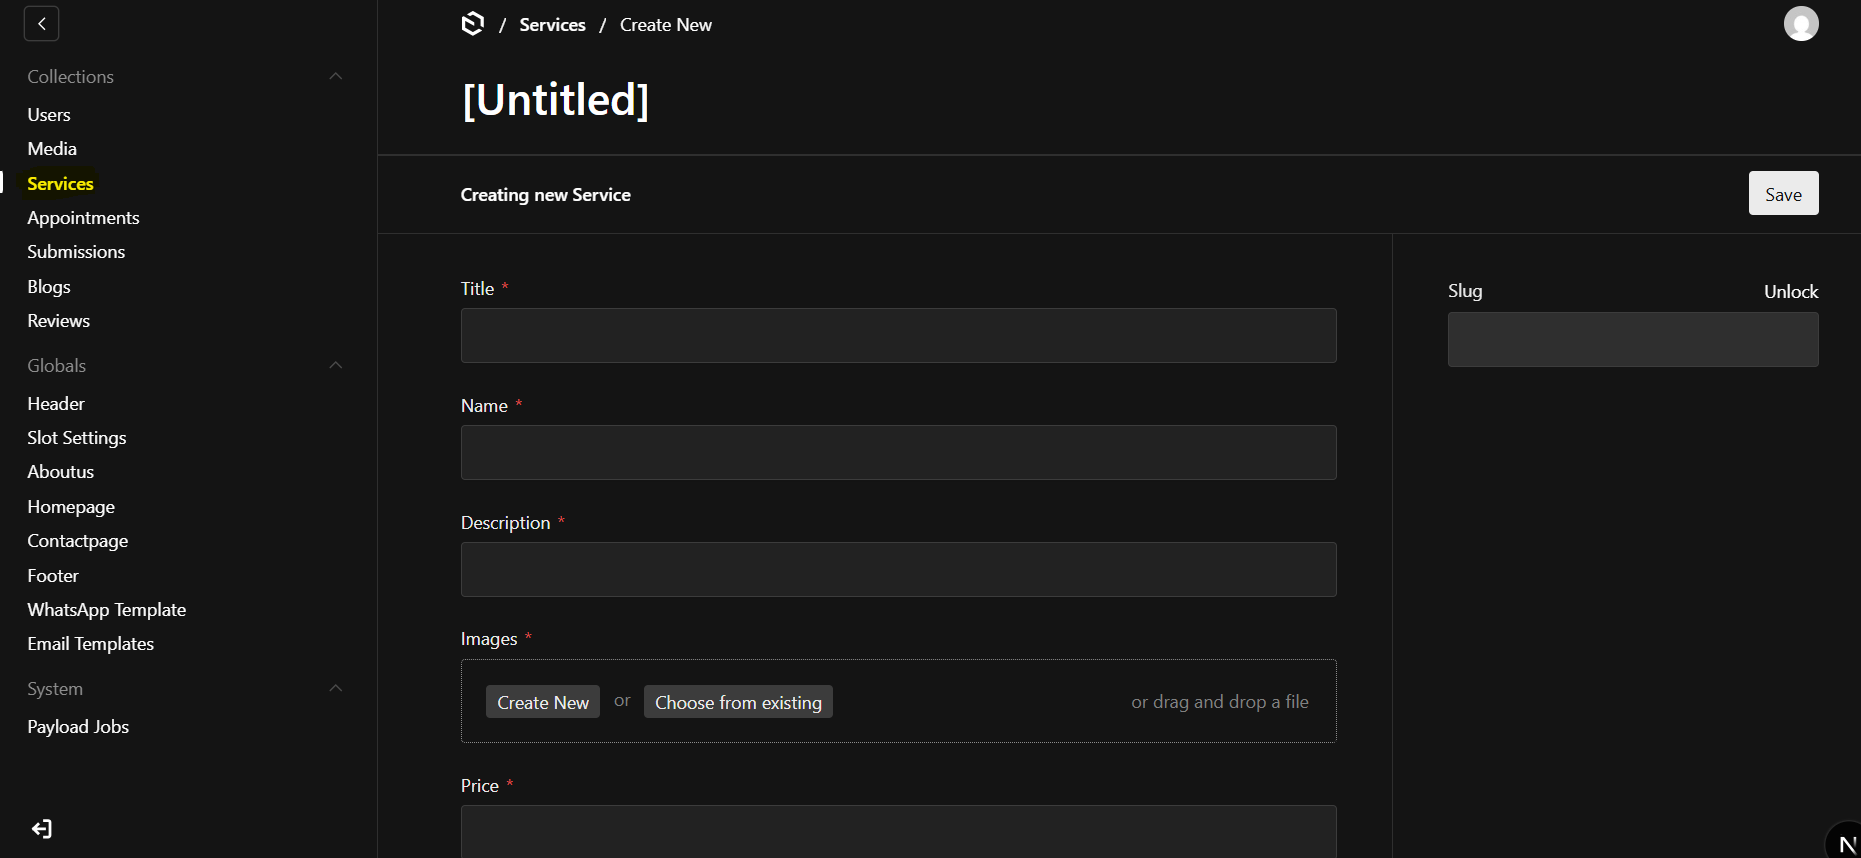
4 Creating Services
Section titled “4 Creating Services”ou can create different services from the Services section in the admin panel.
Each service should include the following details:
Title / Name – The name of the service (e.g., Bridal Makeup, Hair Spa, Facial Treatment).
Description – A short or detailed explanation of the service and its benefits.
Rate – The price of the service.
Duration – The time required to complete the service (e.g., 60 minutes, 2 hours).
FAQ – Frequently asked questions and answers related to the service.
Features – Key highlights or benefits of the service.
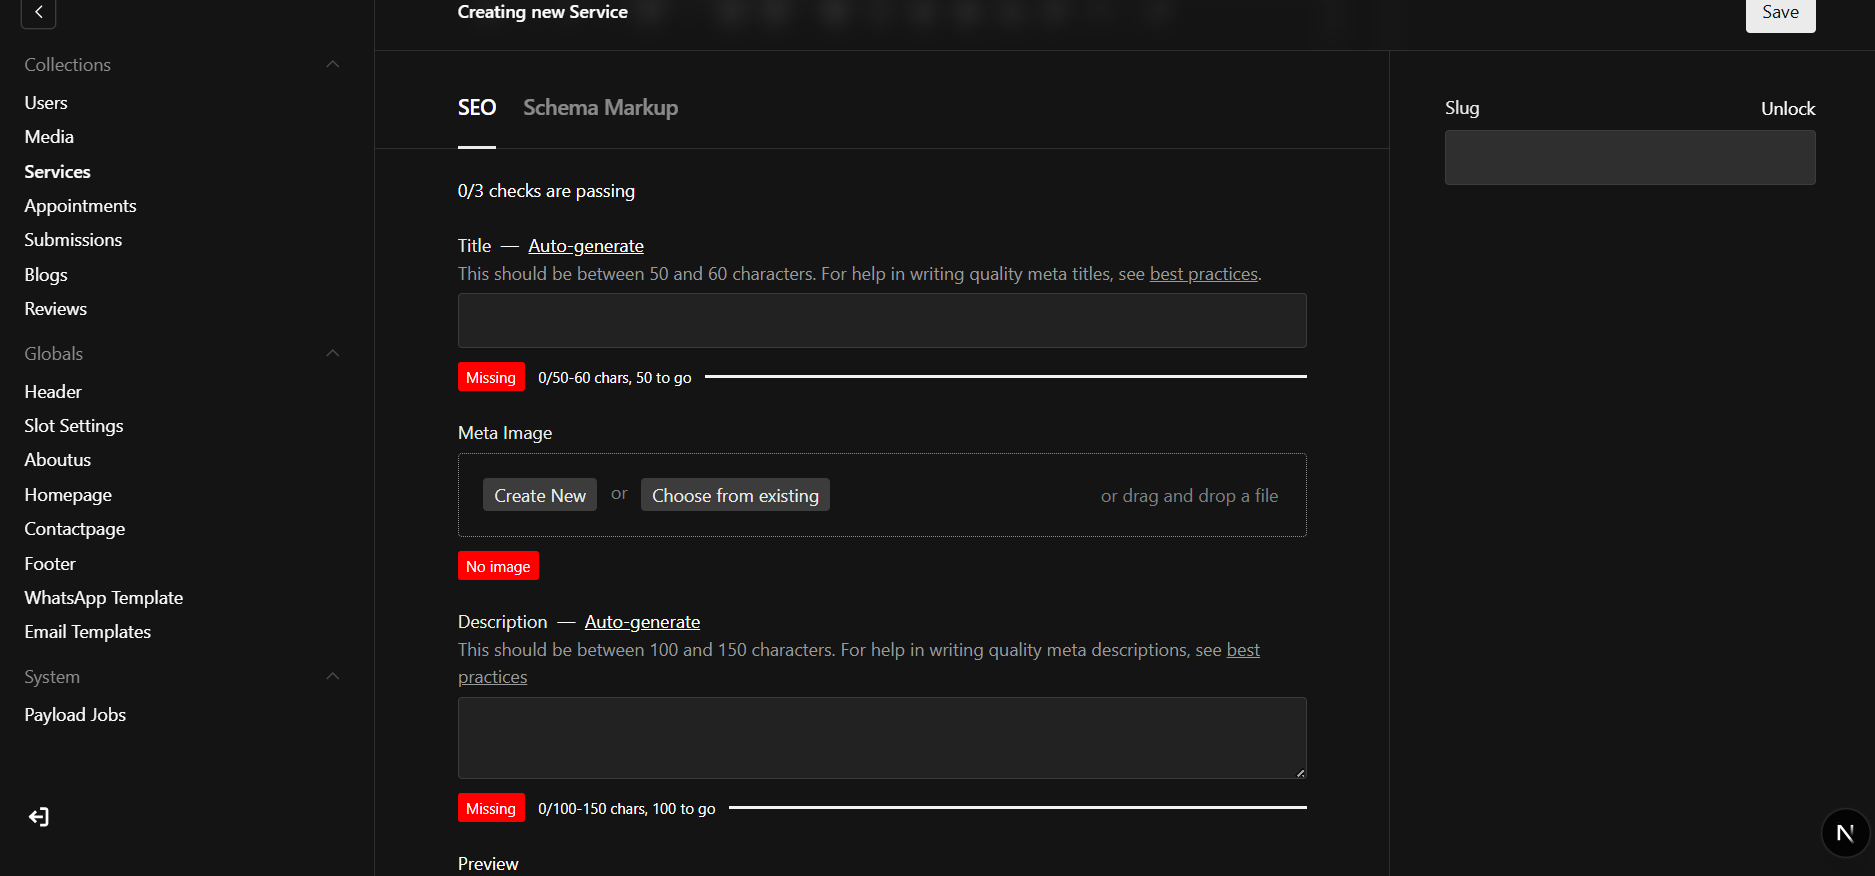
SEO (Very Important)
It is very important to add:
Meta Title
Meta Description
Meta Image
These fields help your service appear properly in Google search results and when shared on social media. Proper SEO information improves visibility and attracts more customers.
After filling in all details, click Save to publish the service.
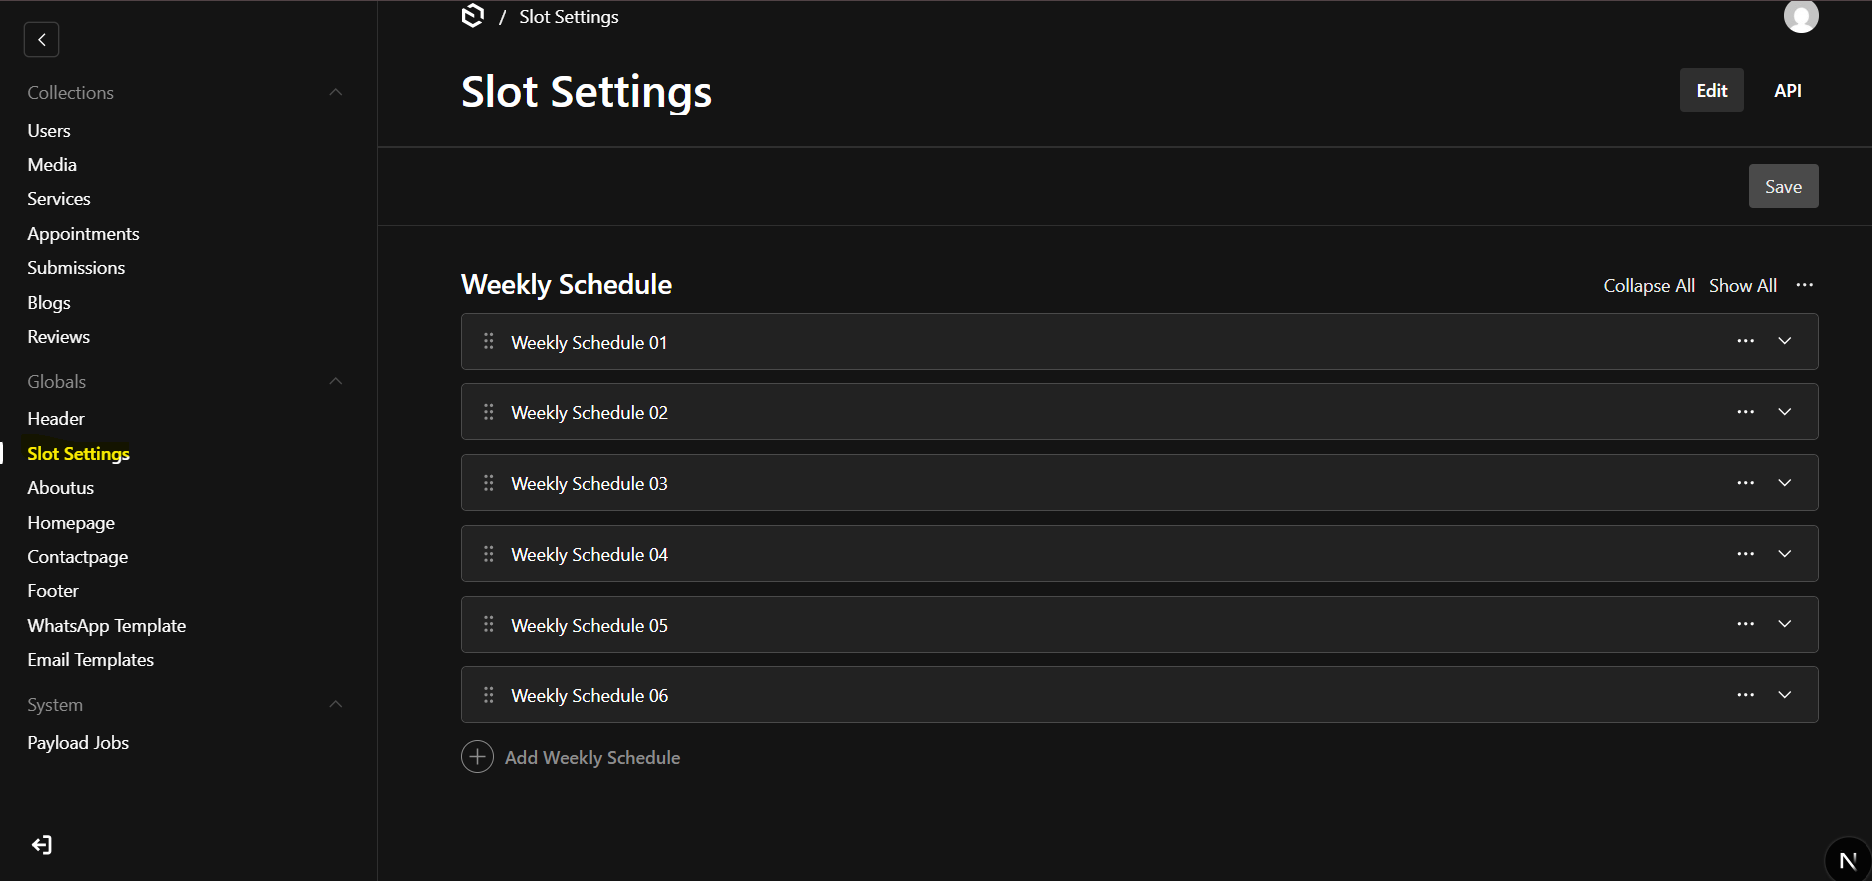
5 Slot settings
Section titled “5 Slot settings”You can create and manage booking slots from the Dashboard → Slot Settings section.
Creating Slots
Go to Dashboard → Slot Settings
Click Add New Slot
Select the related Service
Add available Date and Time
Click Save
How It Works
Each service can have multiple time slots.
The created slots will be displayed on the customer website.
Customers can choose their preferred date and time.
After selecting a slot, they can proceed to book the service.
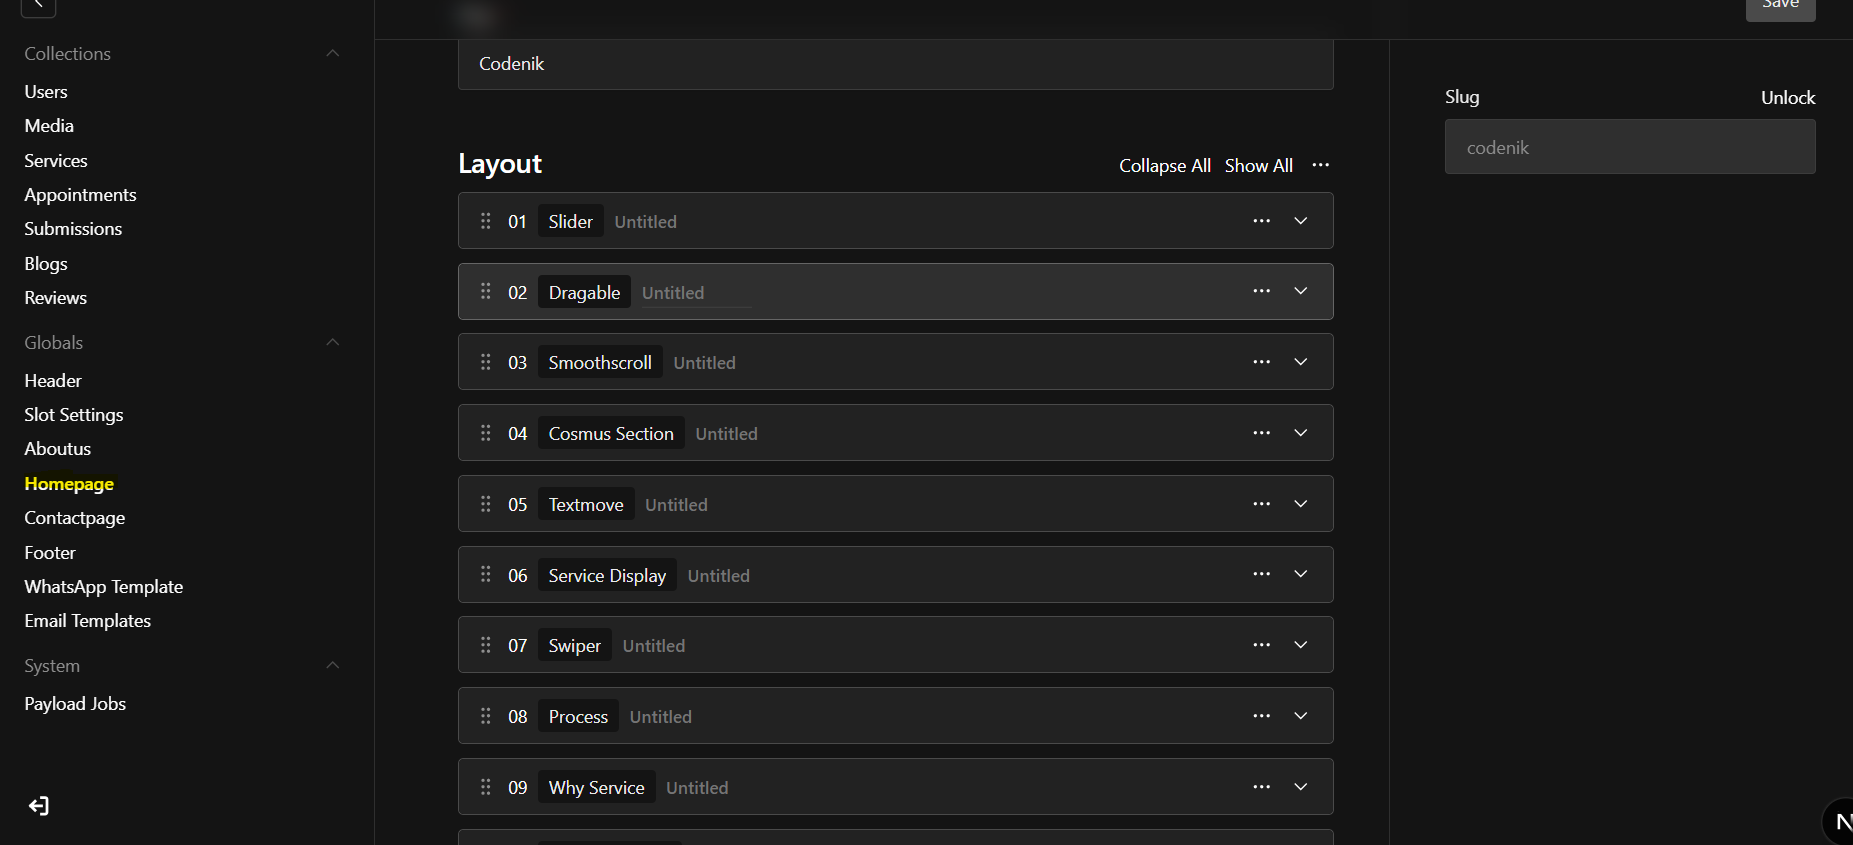
6 Home page layout Block
Section titled “6 Home page layout Block”The homepage is built using 13 flexible content blocks.
Managing Homepage Blocks
You can manage the homepage layout from the Dashboard → Homepage section.
Features
Drag and Drop Layout You can easily drag and rearrange blocks to change their position on the homepage.
Enable or Disable Blocks Each block can be enabled or disabled at any time. If disabled, the block will not appear on the website.
Flexible Design You can organize the blocks in any order based on your business needs.
How It Works
Go to Dashboard → Homepage
Drag blocks to change their position
Enable or disable blocks as needed
Click Save
Changes will be reflected on the website after saving.
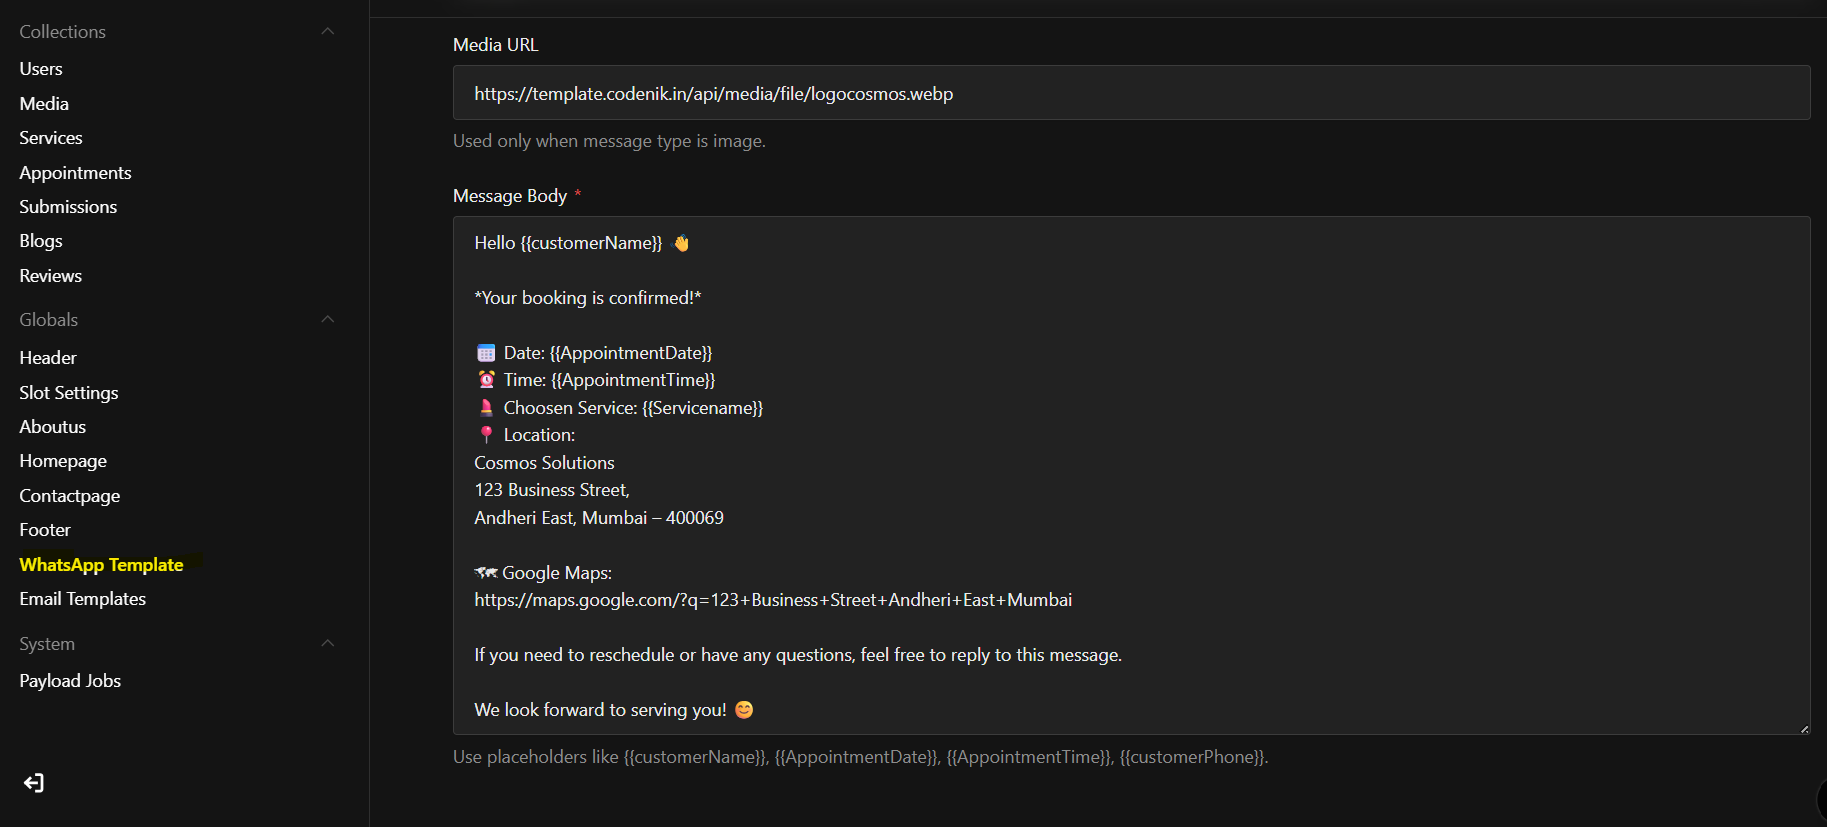
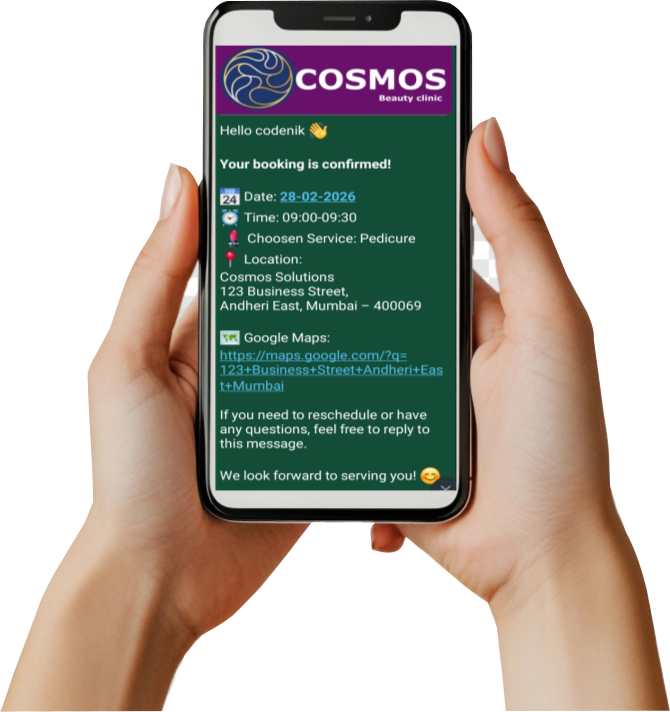
7 WhatsApp Template
Section titled “7 WhatsApp Template”We have created a custom WhatsApp template for sending booking notifications to customers.
You can manage and customize this template from the Dashboard → WhatsApp Template section.
Features
Send automatic booking notifications
Customize the message content
Edit text according to your business requirements
Include dynamic details such as customer name, service name, date, and time
How It Works
Go to Dashboard → WhatsApp Template
Edit the message content as needed
Save the changes
All future booking notifications will use the updated template.
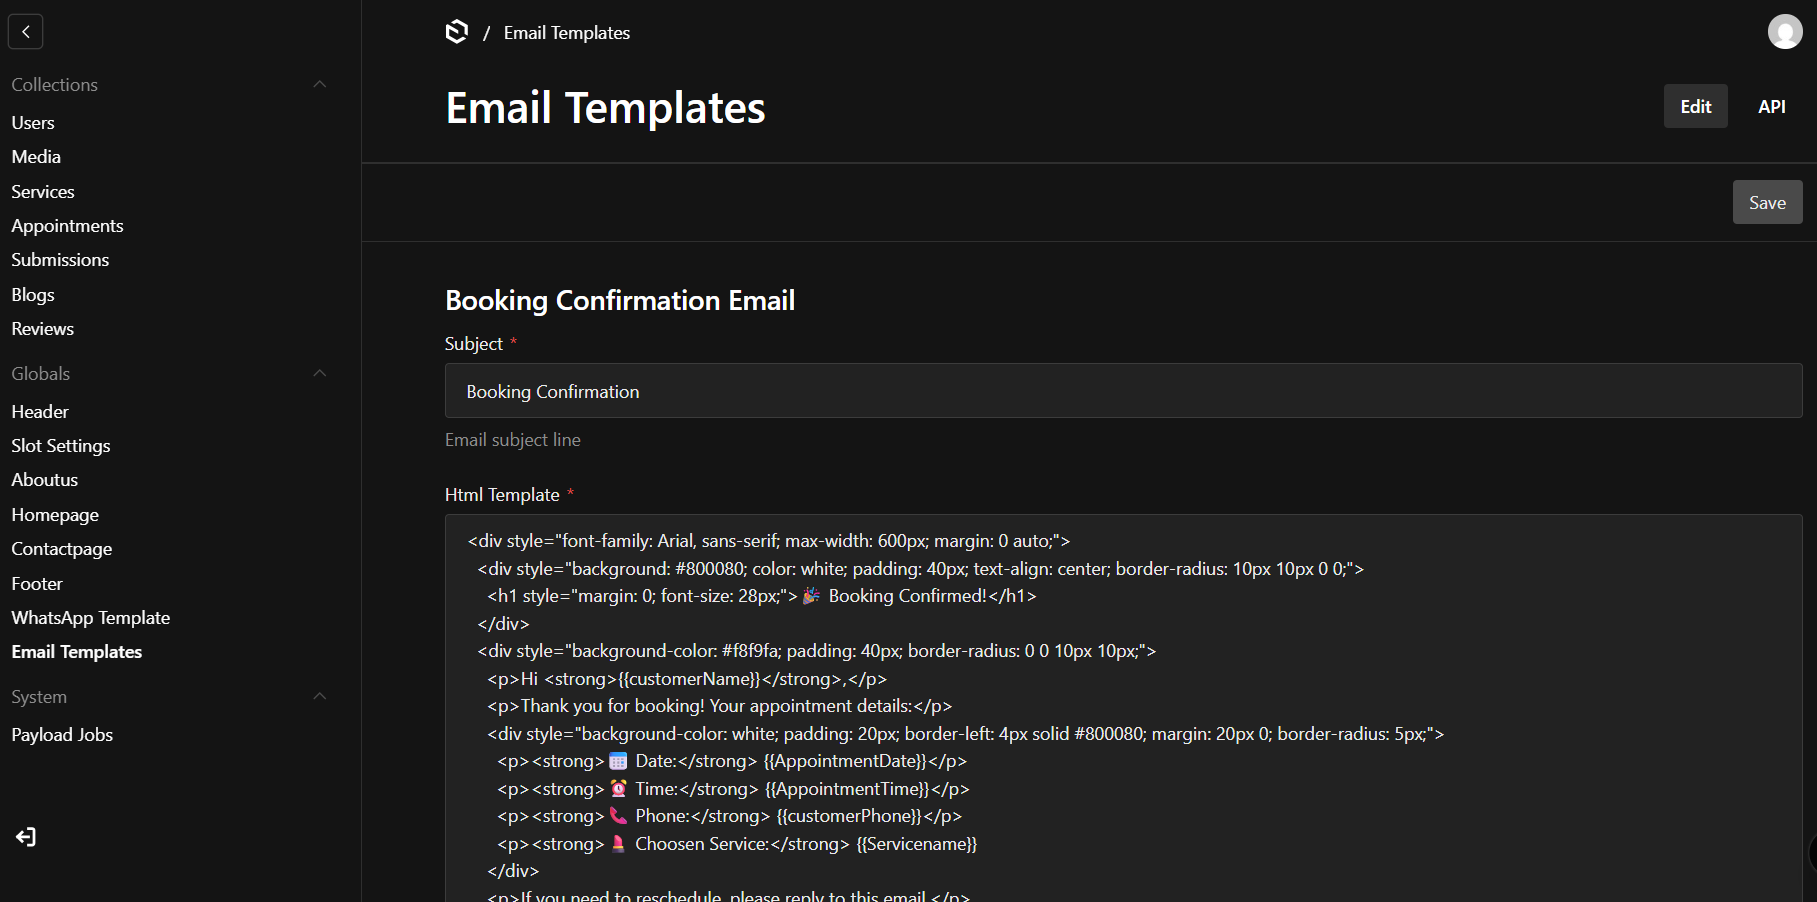
7 E-mail Template
Section titled “7 E-mail Template”In addition, we provide professionally designed email templates for booking confirmations and password reset notifications. These templates can be fully customized from the admin dashboard, allowing you to update the content and tailor the CSS to match your brand.